
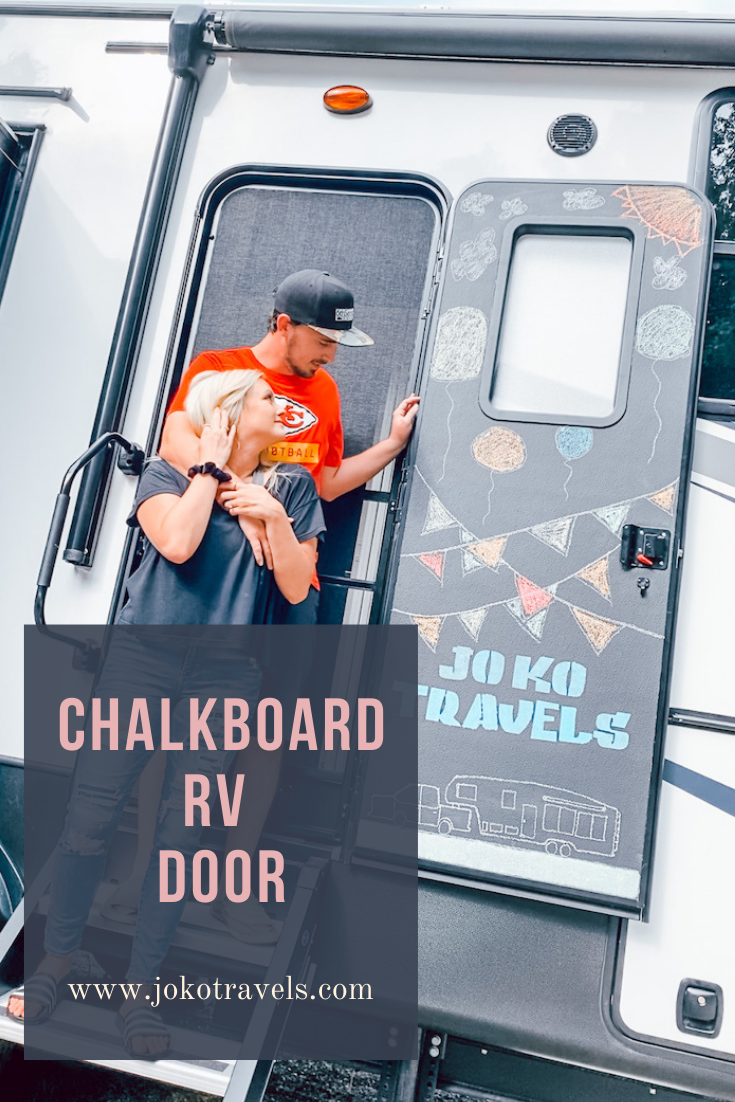
Chalkboard RV Door
Well hey there doodle enthusiast’s! If you’re anything like me, the main reason I wanted a chalkboard door was to doodle and create until my heart was content.
Approaching this task was a little daunting at first and I didn’t quite know where to start. So, I thought I would let y’all in on the do’s and dont’s of this project, as well as what I’ve learned afterwards and how it has kept up over the past 4 months.
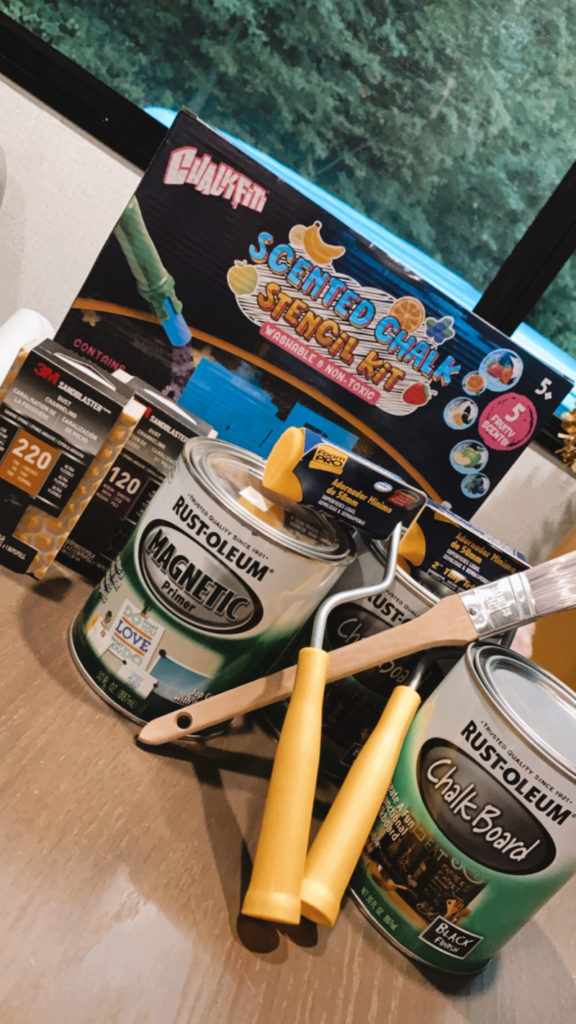
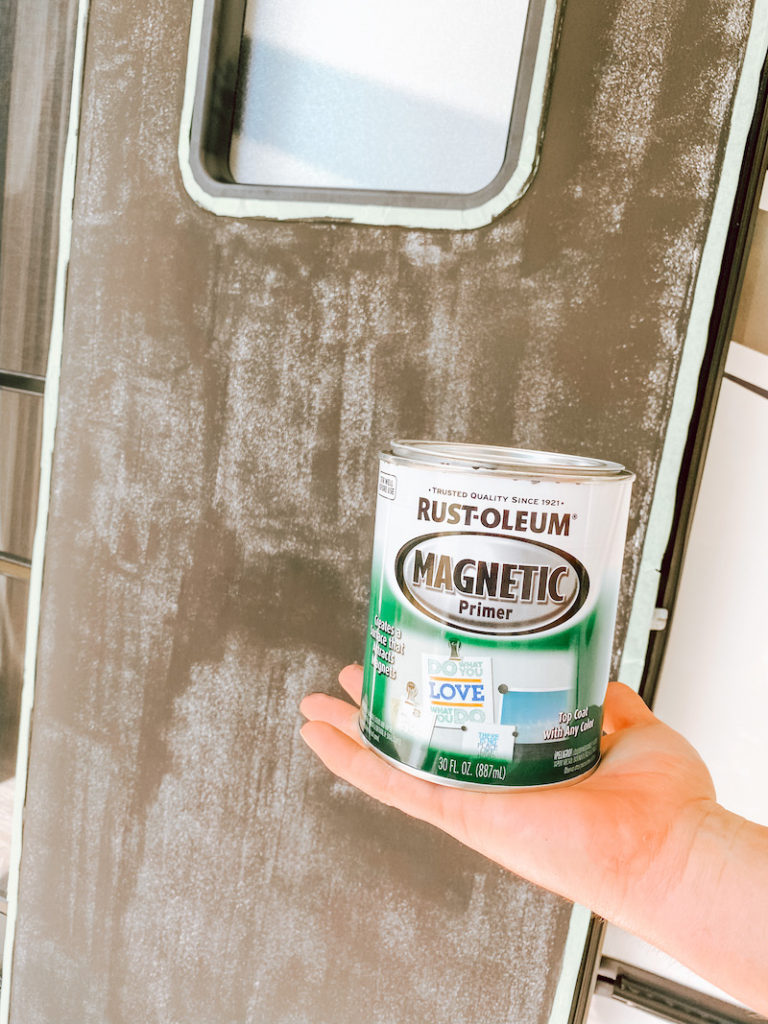
After you’ve collected all the products you need (see picture below) you want to start the prep work.
Step’s 1 – 3 :
- Remove all hardware
- Use painters tape to tape off trim and window
- Sand/rough up the entire surface of the door (this will help the paint adhere)
Now that you’ve removed all the hardware, taped and sanded, its time for the fun part – PAINT!
Start by applying 2 coats of the Rust-Oleum, magnetic primer. We used roller’s for the bulk of it and used the small brush to get in those hard corners.
*Wait at least an hour between applying both coats.*
Next, its time to apply the Rust-Oleum Chalkboard paint! Same with the primer, you HAVE to wait at least an hour between each coat of paint. We ended up applying 3 coats.
Once again, we used the rollers for the bulk of the door and then used a small brush for the tiny, harder to get places. Please note that if you use the brush, you’ll want to go back in with the roller to even it out and avoid leaving any brush strokes behind.
After you’ve applied your 3rd coat, it’s time to let it rest for 24 hours. We left the tape on and the hardware remained off overnight.
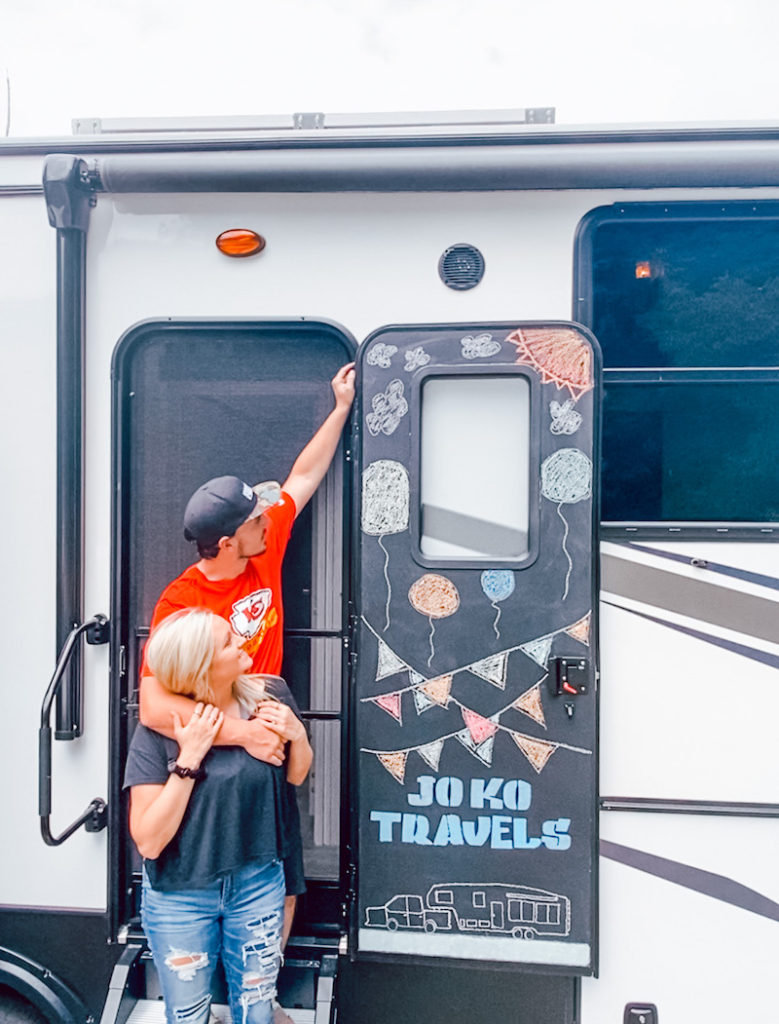
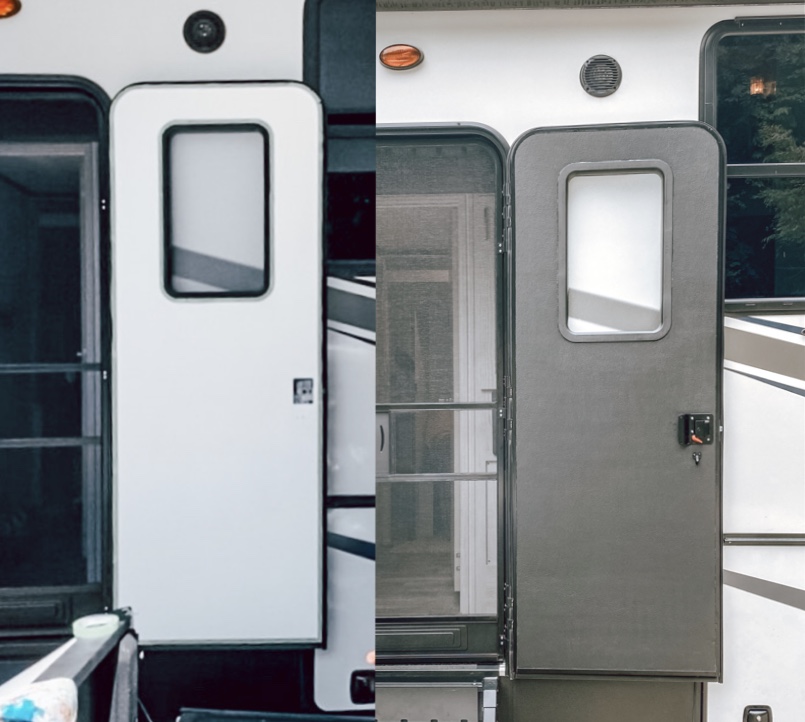
The next evening rolled around and it was time for the big reveal!
We slowly removed the tape and to our surprise, we had 99% success! The other 1% was the little bits of white that the tape was blocking. We fixed this by using our skinniest brush and painting those spots.
And Voila! Our door was ready for its last and final step.
Now this is probably the most important step to creating all your masterpieces! It’s time to rub chalk all over the door, and I mean allll over. Lay the chalk horizontal and go to town. Every crevice, nook and cranny, EVERYTHING. It seemed like a silly step but you know – science – 😉 it helps your chalk stick and makes it easier to remove your design!
Wipe your door clean, let it dry, put your hardware back on and you are ready to GO!
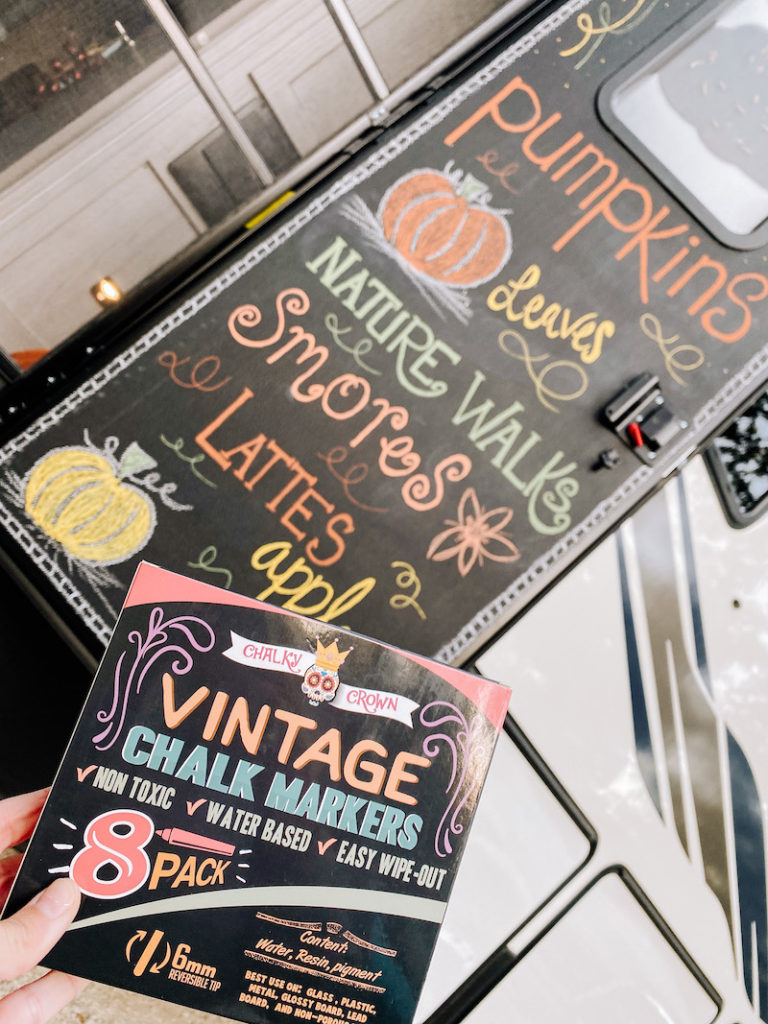
After 4 months, we have had nothing but fun times with this renovation! The only downside we came across was buying these chalk markers on amazon (pictured below). We followed the directions, tried them out on a small spot of the door and it worked great. A few weeks later, I went to remove our fall theme and it would not come off. We ended up having to repaint the door. So if I have any advice its, DO NOT buy these chalk markers and stick to regular chalk.
You’ll thank me later!
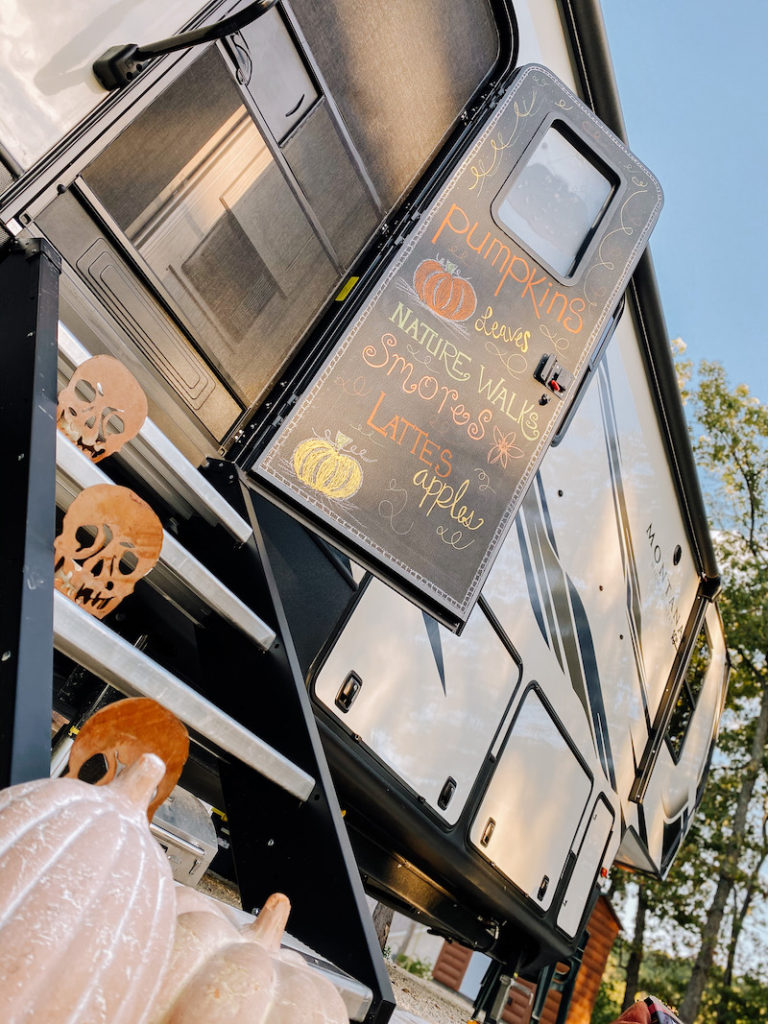
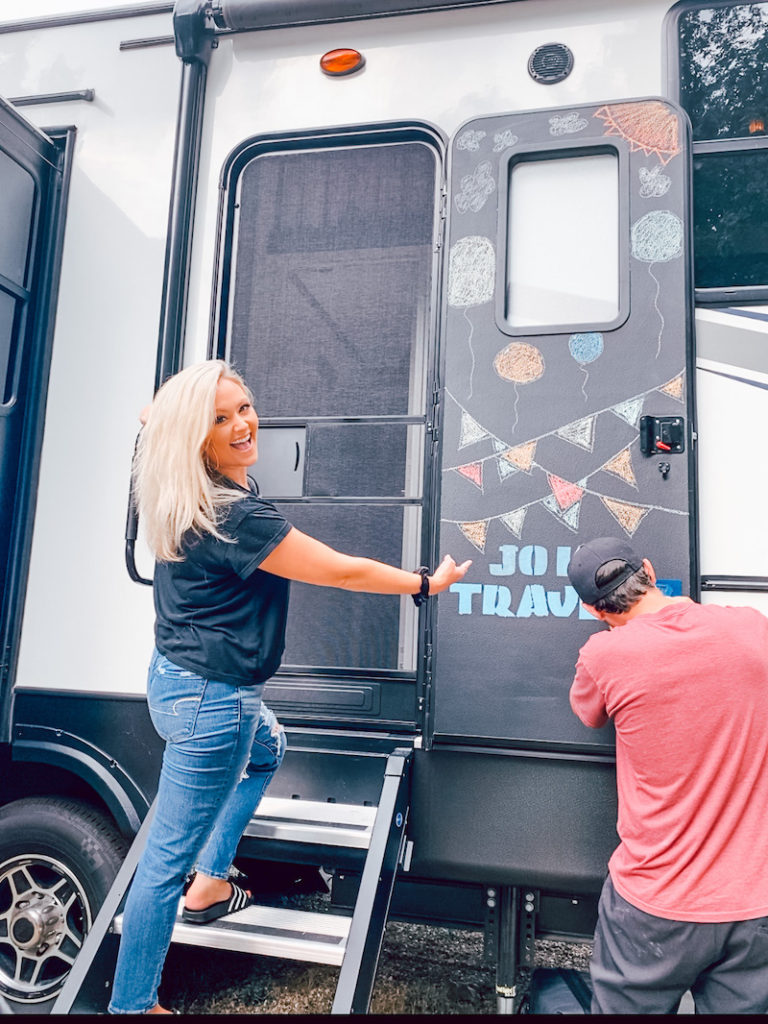
We plan to decorate this door for every new location, vacation, holiday, birthday and more! We’ve already had so much fun and I can’t wait to see what else we create!
If you have any questions, feel free to leave a comment or chat with us on our instagram! @jokotravels & if you end up doing this to your RV, please tag us! I’d love to see your creations!
I hope you love your chalkboard door as much as we do!


10 Comments
Janae
JODIE! 😍 I am obsessed!!!!!! This is amazing! 🙌🏼 I seriously want to do this to both of our doors now 😂♥️ Thanks for sharing such a great tutorial!
Jodie
Thank you sm love!! You guys definitely should! After seeing your journaling skills, your chalkboard creations will be AH-MAZING!😍
Megan Ulrich
I LOVE this idea!!! So creative 😍 Is it magnetic too then??
Jodie
Thanks so much Megan!! It is magnetic 😍 although its not super strong 😅 but it will hold up small things!
Jen
This is so cute! You’re so talented and I love how you made different designs for the holidays too!
Jodie
Thank you Jen!! I can’t wait to get back and make some new ones!
Laura
Jodie! First of all…you have the artistic ability that I always wish I had, haha! Your art work is so beautiful!! This placement on the door was such a smart idea, and perfect for beautiful photo ops! I loved this tutorial, and found it was super clear! I hope people that do this tag you so you can see their creations too lol because this is so cool!
Jodie
I really hope so too! Ive seen one account do it so far and it has been so fun seeing the joy they get out of it too! And girlfriend, I am hardly artistic but I will so take that compliment 🤪 pinterest helps get the juices flowing🤫
Chelsea
Jodie, this is SO COOL! This is a fun DIY that anyone could do. I love all the door designs you came up with. You are so incredibly talented, friend! ❤️
Jodie
Awe Chelsea! Thank you so so much, that’s so sweet of you to say! I have to say, Pinterest was a huge inspiration 😅😍