
DIY Chanel Wall Decor
My love for designer -everything- began with my first Dolce & Gabbana bag back in 2001. I was 11 years old when my Mom gifted me my first hand bag and it made quite the impression. Through the years my collection grew and when I was finally 18, I applied for a position at Coach. After 6 years, a promotion and 2 location changes later, I found myself in Houston, TX. Walking past all the stores, I would always be in awe of the designer decor. When we would put up Coach’s holiday decor, I was always the one that insisted. And sometimes they would even let us take it home after the holidays!
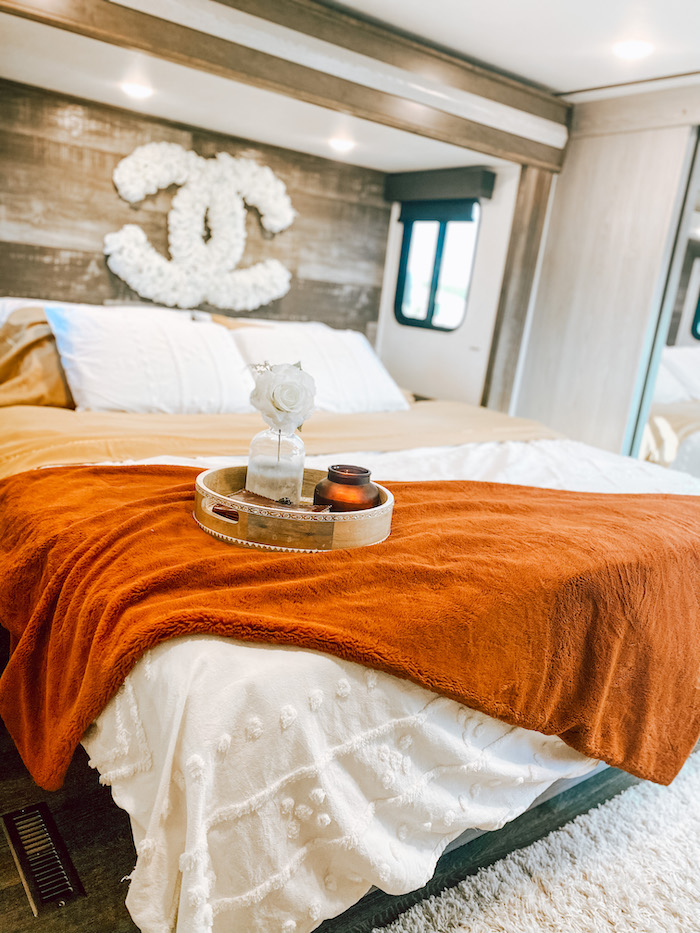
Flash forwarding to now, with my years at Coach a distant memory (and many handbags stored under my bed😆) I find myself longing for designer decor. Living tiny in an RV doesn’t leave you with a lot of wall space so you have to get creative! I wanted to add a summery -upscaled- feel to our bedroom and this is what came to mind! Its inexpensive, quick and an eye-catching piece that can be added to any home, small or large. Heck, this would even be adorable in a dorm room!😍
🅒🅗🅐🅝🅔🅛
◌◌◌
Follow these simple steps to create your own DIY Chanel Wall Decor!
◌◌◌
WHAT YOU NEED:
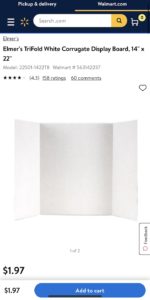
◍ One 14″ x 22″ Elmers TriFold White Display Board
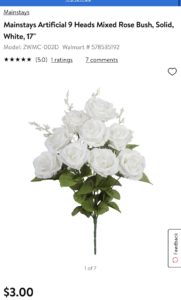
◍ Flowers of your choosing – get creative here! I used Mainstays Artificial 9 Head Mixed Roses Bush but if you have time, search in bulk on Amazon, it’ll be a lot cheaper. I used 150 roses but depending on size, it may require less or more. You can use any color and style of flower you want!
◍ Lastly, you’ll need a ruler or tape measure, pencil, hot glue gun/sticks and a box cutter.
◌◌◌
Now that you have everything you need, its time to make some Chanel magic!
NEXT STEPS:
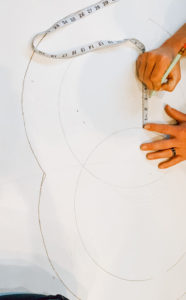
» Use any large circular object you have around the house. We used a 10″ pizza pan and traced the circles on each side. Make sure you have an image of the Chanel logo so you can eye it. Don’t be afraid to make adjustments, that’s why I say use a pencil. We had to redo ours twice to get it juuust right!
» Now that you have your interlacing circles, use your measuring tape (or ruler) to bubble letter the inside of the “C’s”. We made ours 3 inches wide but again, you can make this however big or small you want!
» Once you have it exactly how you want it, it’s time to use the box cutter. Cut out your logo and set aside.
» Get out all your flowers and cut if needed. If you buy in bulk, like mentioned before, some do not come with stems! Less money and less time spent! Win win situation 🙌🏼
» Now that everything is prepped and ready to go, it’s time to start gluing! I alternated between using 2 and 3 in a row, laying them in different directions to give it texture. Try not to leave any spaces and tuck the flowers underneath one another.
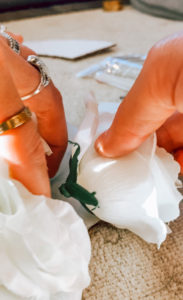
» I used the stems in the bouquet to decorate it a little more but you can leave it the way it is and it’ll still be gorgeous!
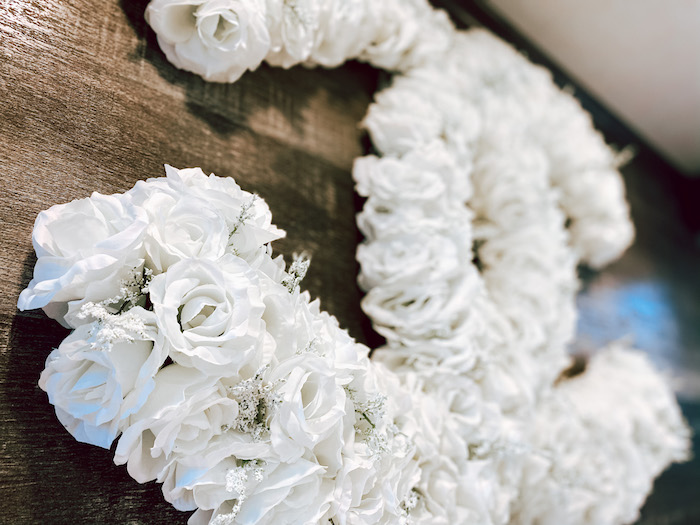
AND THAT’S IT! You now have your very own Chanel wall decor!
Hang it wherever you like and enjoy!
–
Thanks for reading!
Follow us on Instagram for an easy step by step tutorial!
◌◌◌
⤈ Check out our full Summer Vibes Blogger round-up ⤈


11 Comments
Janae
This is really gorgeous! Thanks for sharing this fun tutorial Jodie!
Jodie
Awe thank you Janae! Im so glad you liked it!!
Megan
So cute Jodie!! Great addition to your already gorgeous bedroom 😍
Jodie
Awe Megan!!! Thank you love! It definitely brightened it up!
Paige
Jodie, this project looks so pretty in your space 😍😍! I never thought about using project board for that. Love love love that make one to fit whatever space you need!
Jodie
Thank you Paige thats soo sweet!! You can definitely do so much with this one too!
Chelsea
Jodie! This was such a fun project. I love how you included your passion for fashion into your RV.
Jodie
Awe thanks Chelsea!! I had to bring a little me into the space 😂
Morgan Youngblood
Jodie, I am so impressed with this DIY – it is absolutely gorgeous!! And it goes perfectly in your bedroom space. (I need to borrow your eye for interior design.) Thanks for including so many details on how to recreate this. I especially appreciate the comments on how to place the flowers because that’s where I would totally fail at this project!
Jodie
Oh Morgan thats so sweet of you to say and im so happy I could help!! You’ve so got the eye and please send me all the pics when you recreate your own!! Placing the flowers underneath one another was definitely key!
Millie
This is the cutest thing ever. So creative, I’m totally doing this for my daughters birthday!